ElectricKit Classic Conversion
TECHNICAL INFORMATION
With 10+ years in the market, the ElectricKit Conversion System is the most popular and reliable kit available.
The Classic Edition was released in 2023, bringing additional oven elements for better temperature stabilisation and induction options.
The ElectricKit Classic Control Panel
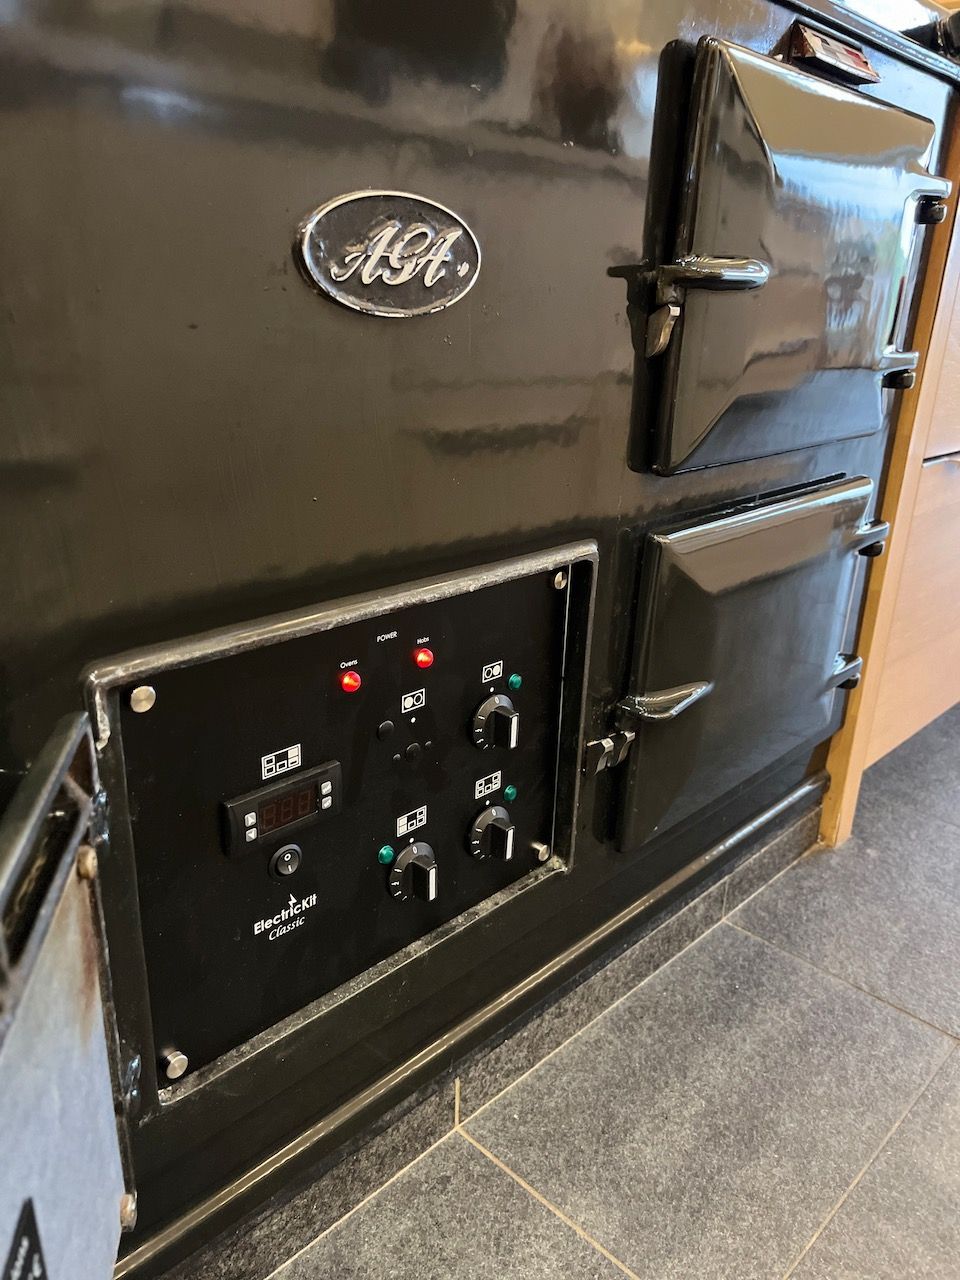
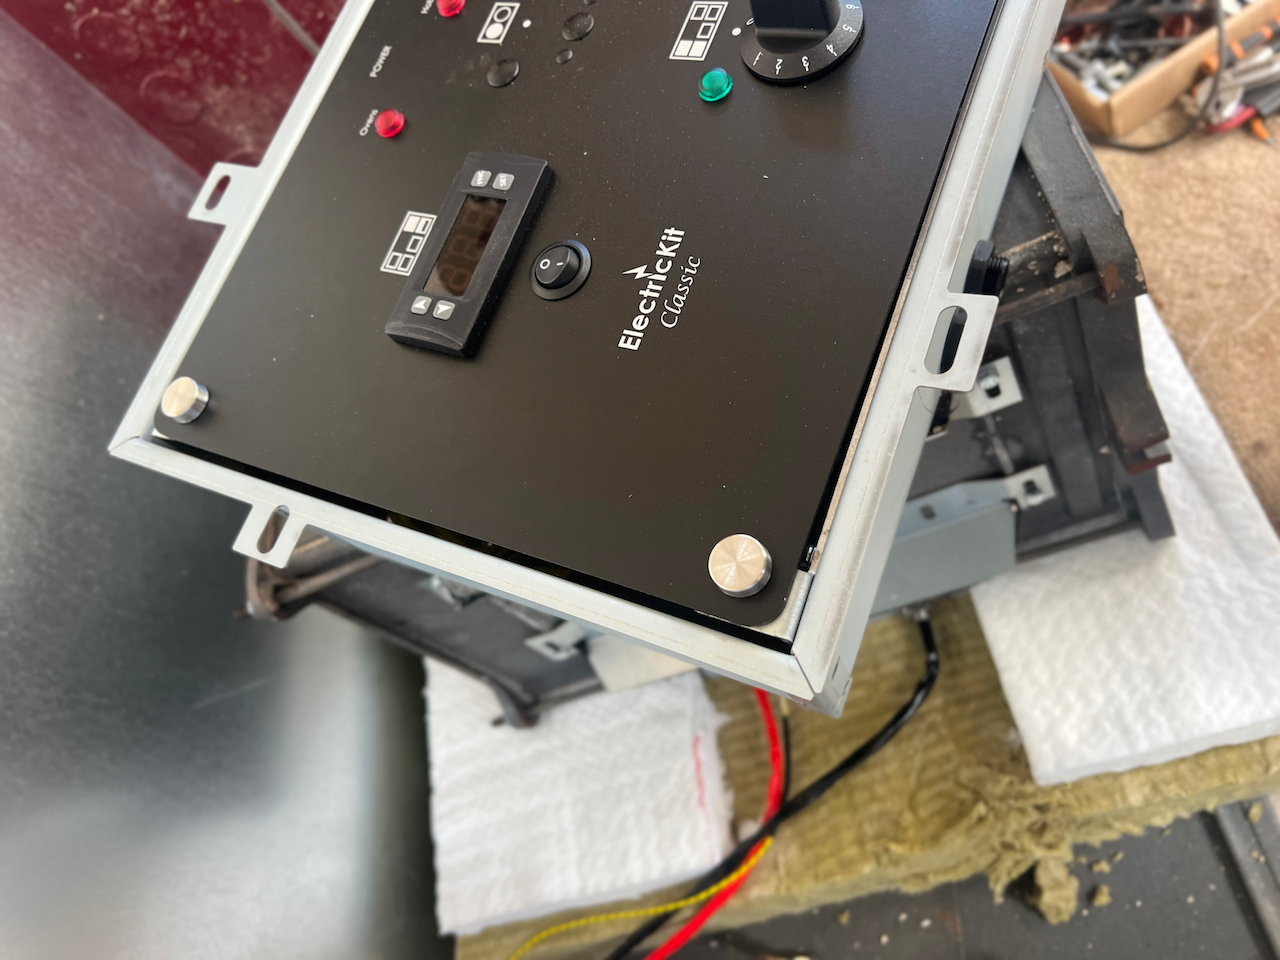
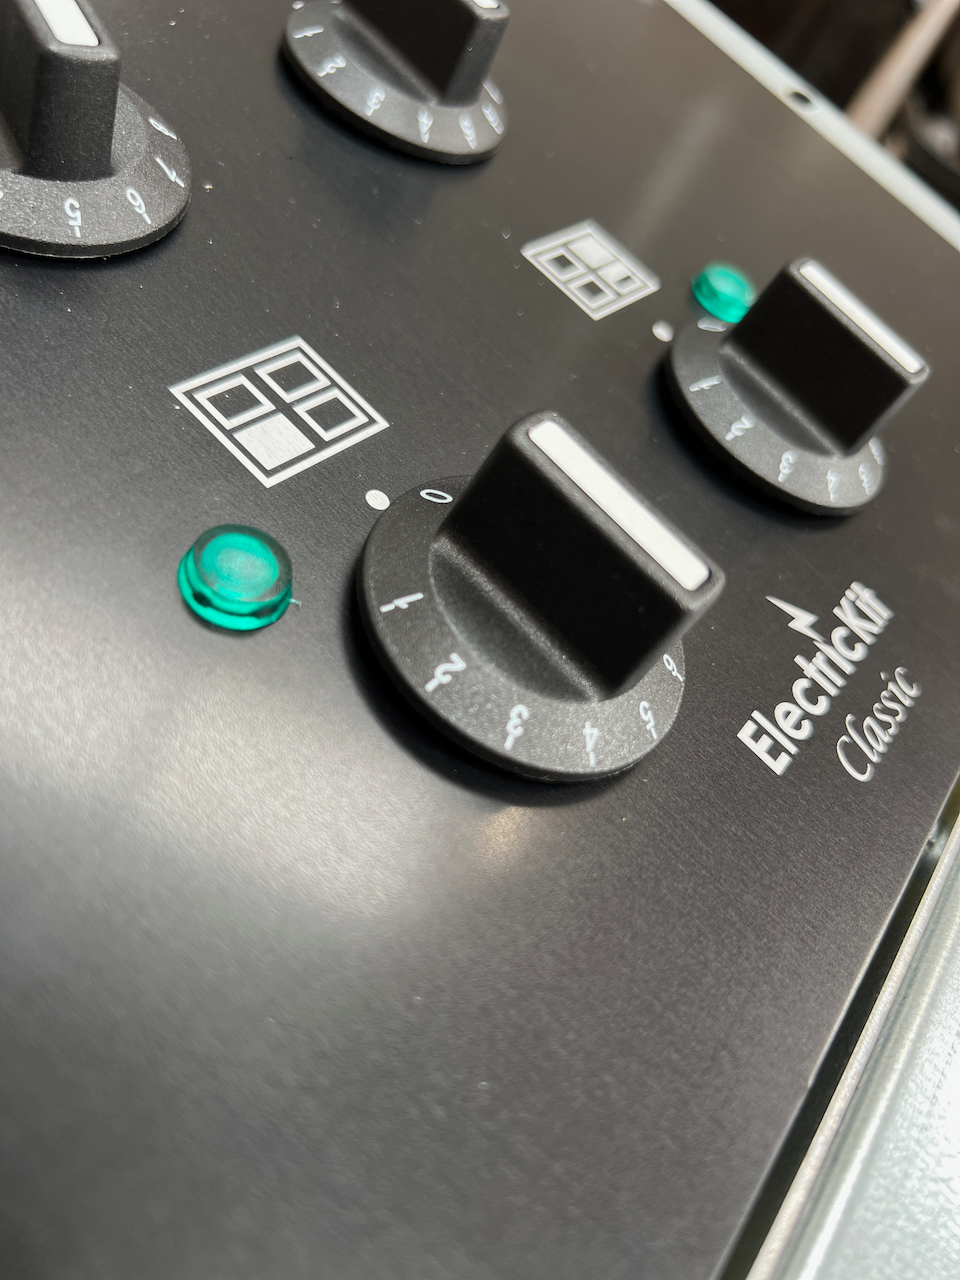
The hotplates are controlled by two manual dials - numbered 1 to 8. Each have green indicator lights next to them. When illuminated, the element is heating. When they turn off, the element has reached the set temperature.
Your hotplates MUST be manually turned down to 4 or lower when the lids are closed. If they are left at a higher temperature when closed, the thermostats will require an out-of-warranty repair.
Induction hotplate dials will be blanked off, as shown in the photo. The controls are located on the induction hotplate itself.
The top oven (traditionally 'roasting') is controlled by the temperature display. This can be adjusted up and down, then will return to show you the current temperature. Your bottom right hand oven will automatically be around 35% cooler than the top oven temperature. The last dial is your bottom oven element, to boost the temperature if needed.
The hotcupboard section (simmering/warming ovens) on our 4 oven ElectricKit models are controlled together, via a manual dial 1-8. This sets the top left oven temperature. The bottom left oven will sit around 20-30c cooler than the top left oven.
On our 3 Oven ElectricKit Classic Conversions, the display has 4 dials numbered 1-8. One for each hotplate, one for the RH ovens, and one for the LH oven. There is no bottom boost element in the 3 oven models.
ElectricKit Classic - The Setup
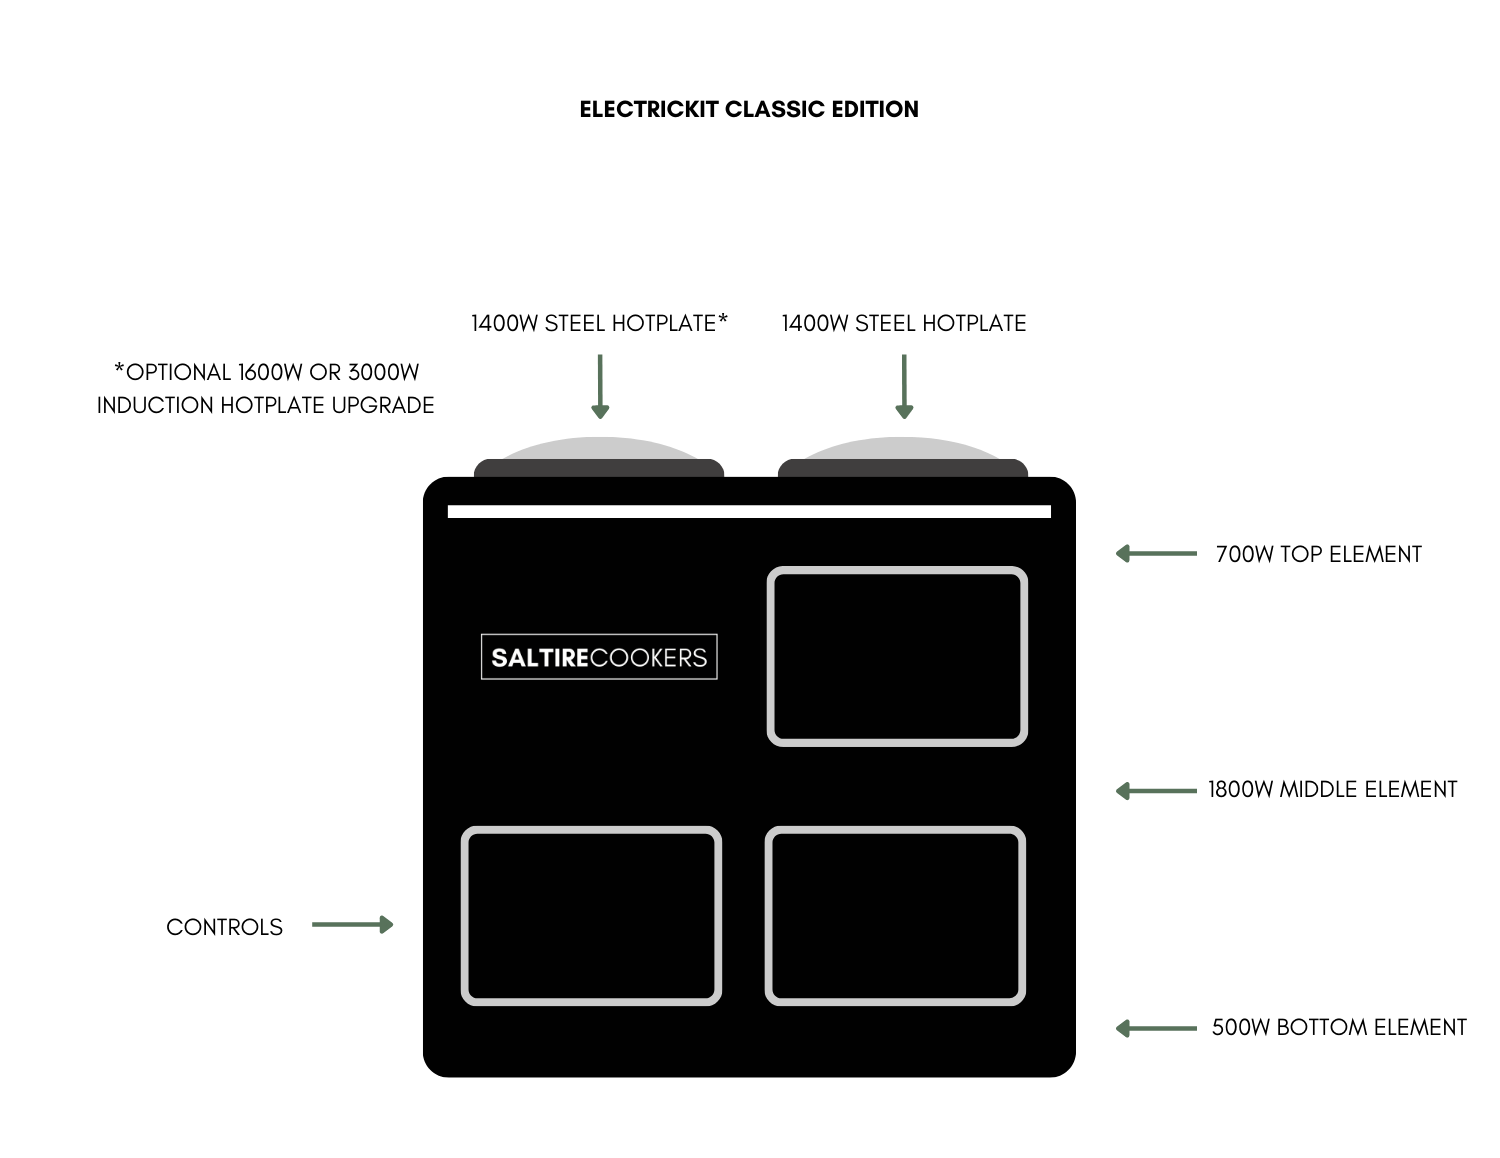
RH Hotplate Element: 1400w
LH Hotplate Element: 1400w
Top Oven Element: 700w
Middle Oven Element: 1800w
Bottom Oven Element: 500w
3 Oven LH Oven Element: 1100w
4 Oven Hotcupboard Element: 550w
Standard Induction Hotplate: 1600w
Settings 1-5.
(This replaces the LH Hotplate, with controls built directly into the induction hob).
High Power Induction Hotplate: 3000w
Settings 1-8.
(This replaces the LH Hotplate and requires its own plug socket. Controls are located directly onto the induction hob)
The Hotplates:
Each hotplate element can be any temperature up to boiling. These are controlled via settings from 1-8, and can be left on a lower slumber setting when the lids are closed. Alternatively, you can upgrade your left-hand hotplate to a state-of-the-art induction hob, for instant heat and even cheaper running costs.
The Ovens:
Typically, you have three oven elements outside of your ovens - top, middle and bottom. These allow each oven to be controllable in temperature. The largest element is in-between the two ovens. This means that your bottom oven will naturally gain some heat when the top oven is on. Generally, it will be 35% cooler, so if your top oven is set to 220c, the bottom oven will be around 140c. You can boost this bottom oven temperature using the additional 500w bottom element.
The left-hand hotcupboard section (simmering/warming ovens) on our 4 oven ElectricKit models are controlled together, via settings 1-8.
On our 3 Oven ElectricKit Classic Conversions, the display has 4 manual dials numbered 1-8. One for each hotplate, one for the RH ovens, and one for the LH oven. There is no bottom boost element in the 3 oven models.
The ElectricKit System is best when used as flexibly as possible, using one oven for day-to-day cooking and the slumber modes if needed. You do have the option of running it full 24/7 if you prefer, but your running costs will rise.
ElectricKit Classic Conversion - Models Available
Most models of aga cooker can be converted using the ElectricKit System.
Find out which model you have.
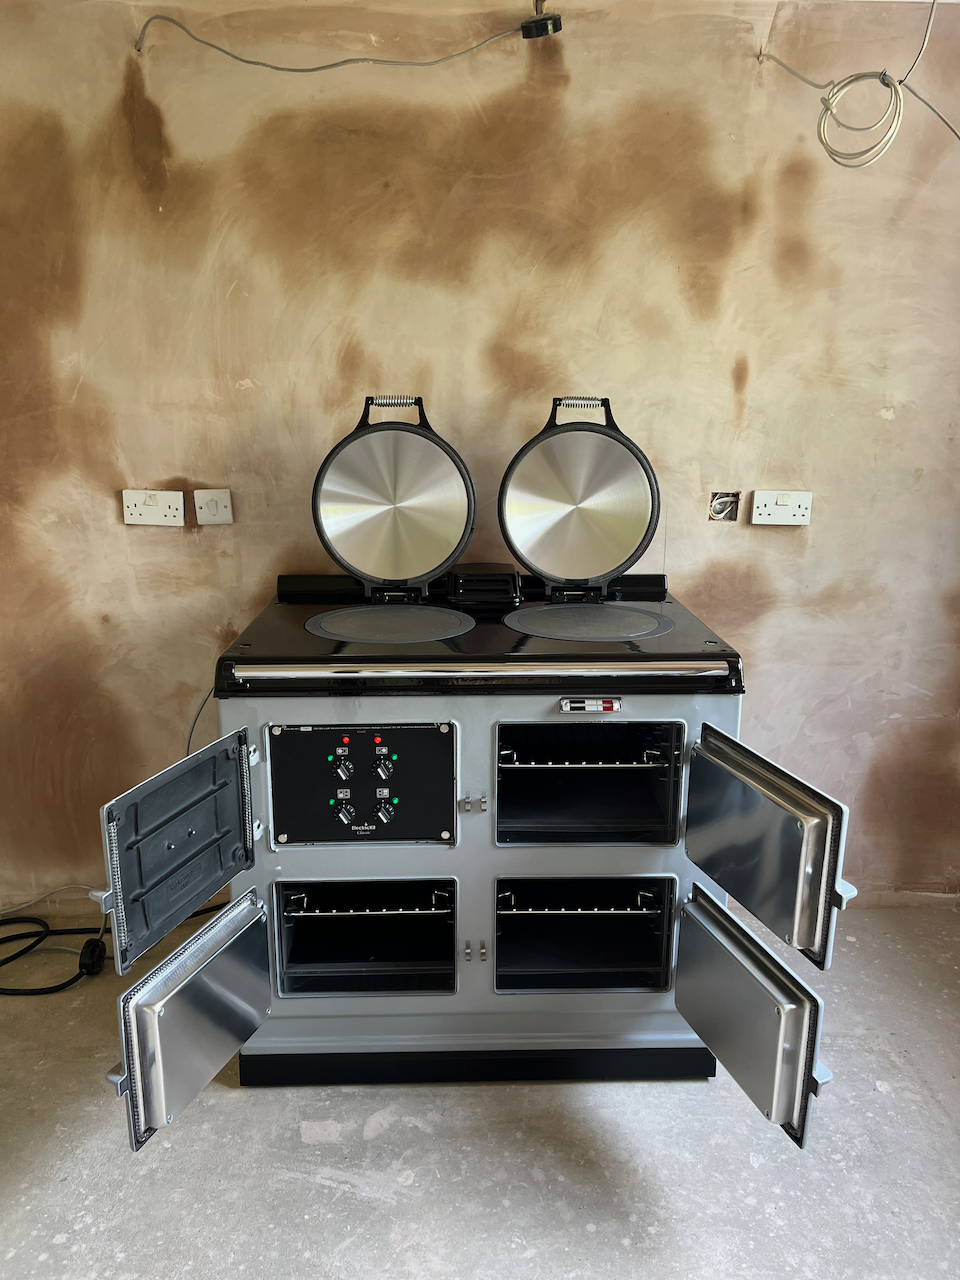
The ElectricKit Classic Conversion System can be fitted to 2, 3 and 4 oven models.
- Traditional Standard Aga Cooker
- Pre-74 Solid Fuel
- Pre-74 Deluxe Model
- Post-74 Solid Fuel
- Post-74 Deluxe Model
- Post-95 Deluxe Model
- Post-2000 Deluxe Model
Also, the limited edition models, such as the Classic and the Millennium edition.
ElectricKit Classic Temperatures
With the ElectricKit Conversion, the 'always on' aga cooker becomes controllable - each oven and hotplate have different temperature ranges, for flexible, efficient cooking.

- RH Hotplate: 0c to 370c
- LH Hotplate: 0c to 370c
- Top RH Oven: 0c to 280c
- Bottom RH Oven: 0c to 250c

- RH Hotplate: 0c to 370c
- LH Hotplate: 0c to 370c
- Top RH Oven: 0c to 280c
- Bottom RH Oven: 0c to 180c
- Bottom LH Oven: 0c to 250c

- RH Hotplate: 0c to 370c
- LH Hotplate: 0c to 370c
- Top RH Oven: 0c to 280c
- Bottom RH Oven: 0c to 250c
- LH Hotcupboard Unit: 0c to 125c
Aga Cooker Dimensions
Our Refurbished Aga Cookers all have the same dimensions, listed below.
Pre-Installation Requirements: No utilities should be located behind the Aga Cooker. Some minimum clearance gaps are required for airflow and maintenance - 10mm gap behind and 3mm each side. The cooker should sit on a non-combustible surface, for a thickness of at least 12mm.
This is a summary. Our unique, full pre-installation guides will be provided.
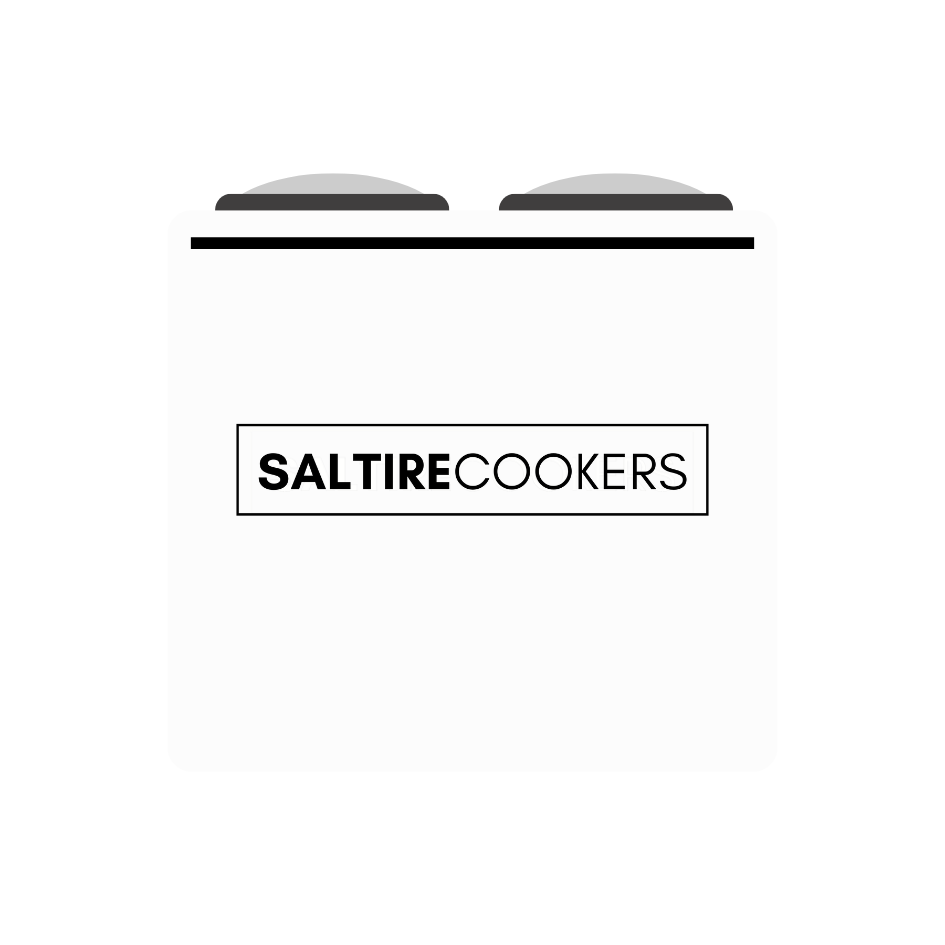
2 and 3 Oven Aga Cookers
Width: 987mm (plus 3 to 5mm gap each side)
Depth: 679mm (plus 10mm gap behind)
Height: 851mm (plus your chosen plinth height)
Traditional models have the minimum depth 670mm.
Total height for lid clearance: 1330mm (plus any plinth height).
The doors need a minimum clearance of 116mm but we recommend 150mm.
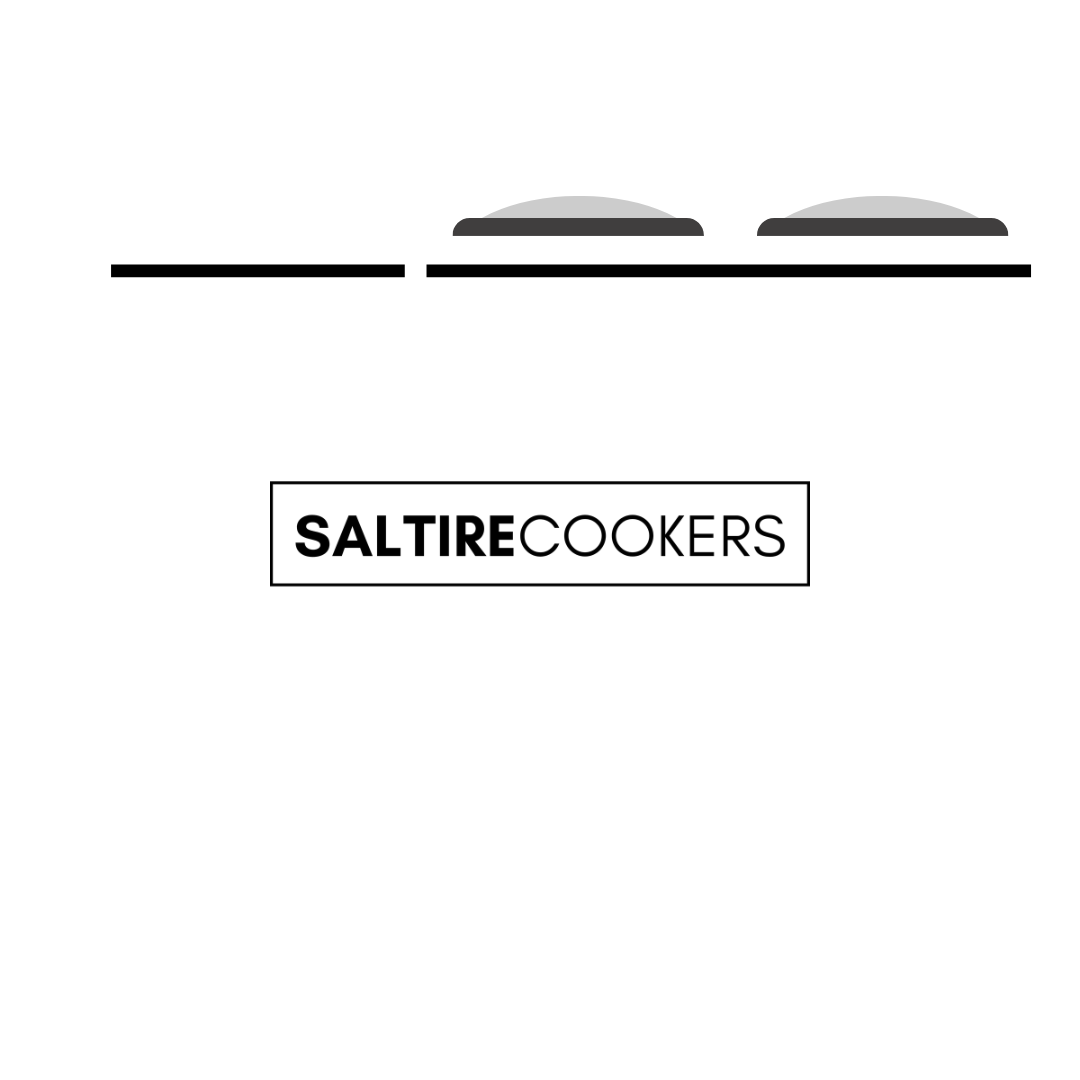
4 Oven Aga Cookers
Width: 1487mm (plus 3 to 5mm gap each side)
Depth: 679mm (plus 10mm gap behind)
Height: 851mm (plus your chosen plinth height)
Traditional models have the minimum depth 670mm.
Total height for lid clearance: 1330mm (plus any plinth height).
The doors need a minimum clearance of 116mm but we recommend 150mm.
Our plinths are made from steel. They are black in colour and available in 50-80mm high, but 60mm is the norm.
ElectricKit Classic Conversion - Pros and Cons
In line with our business ethos of honesty and transparency, we will always give you the pros and cons for your choice of Aga Cooker or Conversion. Being open about the strengths and potential shortfalls of each option, allows us to manage expectations and give you the absolute best solution for your lifestyle.
Advantages of the ElectricKit Classic:
- Established company, manufacturing since 2010s.
- Minimal revisits on installations - very resilient system.
- Large community of users who have converted already.
- Controllable ovens and hotplates.
- Faster heat up times vs traditional models. 50 mins vs 7 hours.
- Flexible with running costs vs the traditional models.
- Control the heat into the room, and use your ovens in the summer.
- Physical dials on the control panel.
- Less technology inside vs the newer systems, which means less possible repairs.
- See both your target and current temperature of the top oven (for 2 and 4 oven models).
- Hotplate use doesn't affect oven temperatures.
- For 4 oven models, the hotcupboard element is hidden, so it doesn't reduce oven space.
- For 4 oven models, the hotcupboard section is controllable, via dial numbered 1-8.
- No baffle plate required in the oven (compared to other conversion kits).
- Ability to replace the LH hotplate with an induction hob.
- No excessive smoke or smells on first firing (compared to other conversions).
- On/Off scheduling via a wifi app is available as an upgrade.
Disadvantages of the ElectricKit Classic:
- Reduced heat into the room vs traditional models.
- Internal hot water aga boilers are not compatible.
- Minimum 32amp supply required. Your electrician may need to install a new supply cable.
- Learning curve with a slight change to traditional cooking style (eg. grilling is best at the top of the bottom oven).
- Only one temperature display (for the top oven) on 2 and 4 oven models.
- 3 Oven models have no LED temperature display, but 4 manual dials.
- The floor of the ovens are hotter than an 'always on' model - a grill shelf may be required if cooking on the floor for long periods.
- The hotplates need to manually turned down to simmering (or off) when the lids are closed.
- Unable to easily Roast and Simmer at the same time on 2-oven models (bottom oven is always hot if the top oven is on - a maximum of 35% cooler).
- On 3 oven models, the bottom right-hand oven is effectively non-controllable (there is no boost element underneath).
- Older 'Trad' models require the user to remove their enamel grill to engage the boost element dial.
If the manual 'Classic' system isn't for you, try our 'Advanced' System with lots of additional features.
ElectricKit Classic - Running Costs
As a rough guide, using a 0.24p per kw tariff, you can expect the below running costs from an ElectricKit Converted Aga Cooker.
Costs will change depending on food cooked, temperature settings and size of room, insulation etc.
Most owners tend to leave their top oven on at a slumber/baking temperature 24/7, then increase whenever needed. This gives a little gentle heat into the room as well as convenience.
Top oven:
Used flexibly (on/off twice a day): approx 24kWh per week (or £6pw).
At baking temperature constantly: approx 83kWh per week (or £20pw).
Solid Hotplate:
0.15kW or approx 0.03p per hour. £6pw if left on at simmer constantly.
You can choose to replace your left-hand hotplate with an induction hob for the cheapest hotplate running costs available.
If you're going to be turning your cooker on/off more than twice a day, then we usually recommend using a slumber temperature of around 100c, then bring up to temperature whenever needed. If your ovens are left to become cold, the energy used to bring the cooker up to temperature each time is greater than the energy consumed to boost from this lower temperature.
Keeping your oven on at least 70-100c means the thick cast iron oven panels are always saturated with some heat and your heat up times will be improved, as well as your running costs.
ElectricKit Classic - Electric Requirements
The electric requirements depend on which model and configuration you're looking for. Each electric connection point must be directly next to the aga cooker, not behind. Our unique pre-installation guide has diagrams and specifications inside.
2 Oven ElectricKit:
5.8kW (Standard Config)
2 x 13amp fused spur switches.
OR
1 x 32amp supply.
Supply should be wired using minimum 6mm cable. H07RN-F cable will be used from the supply, into the Aga Cooker.
3 Oven ElectricKit:
6.4kW (Standard Config)
1 x 32amp supply.
Supply should be wired using minimum 6mm cable. H07RN-F cable will be used from the supply, into the Aga Cooker.
4 Oven ElectricKit:
6.35kW (Standard Config)
1 x 32amp supply.
Supply should be wired using minimum 6mm cable. H07RN-F cable will be used from the supply, into the Aga Cooker.
If you have the 1.6kW induction hob upgrade, you don't need any additional electric points - it ties into the standard ElectricKit control panel.
The 3kW version requires a separate plug socket next to the aga cooker.
ElectricKit Classic Venting Options
The ElectricKit Conversion is room-venting to negate the need for an external flue system.
The small vented shroud replaces the normal gas or oil shroud at the back of the top plate, in-between the lids.
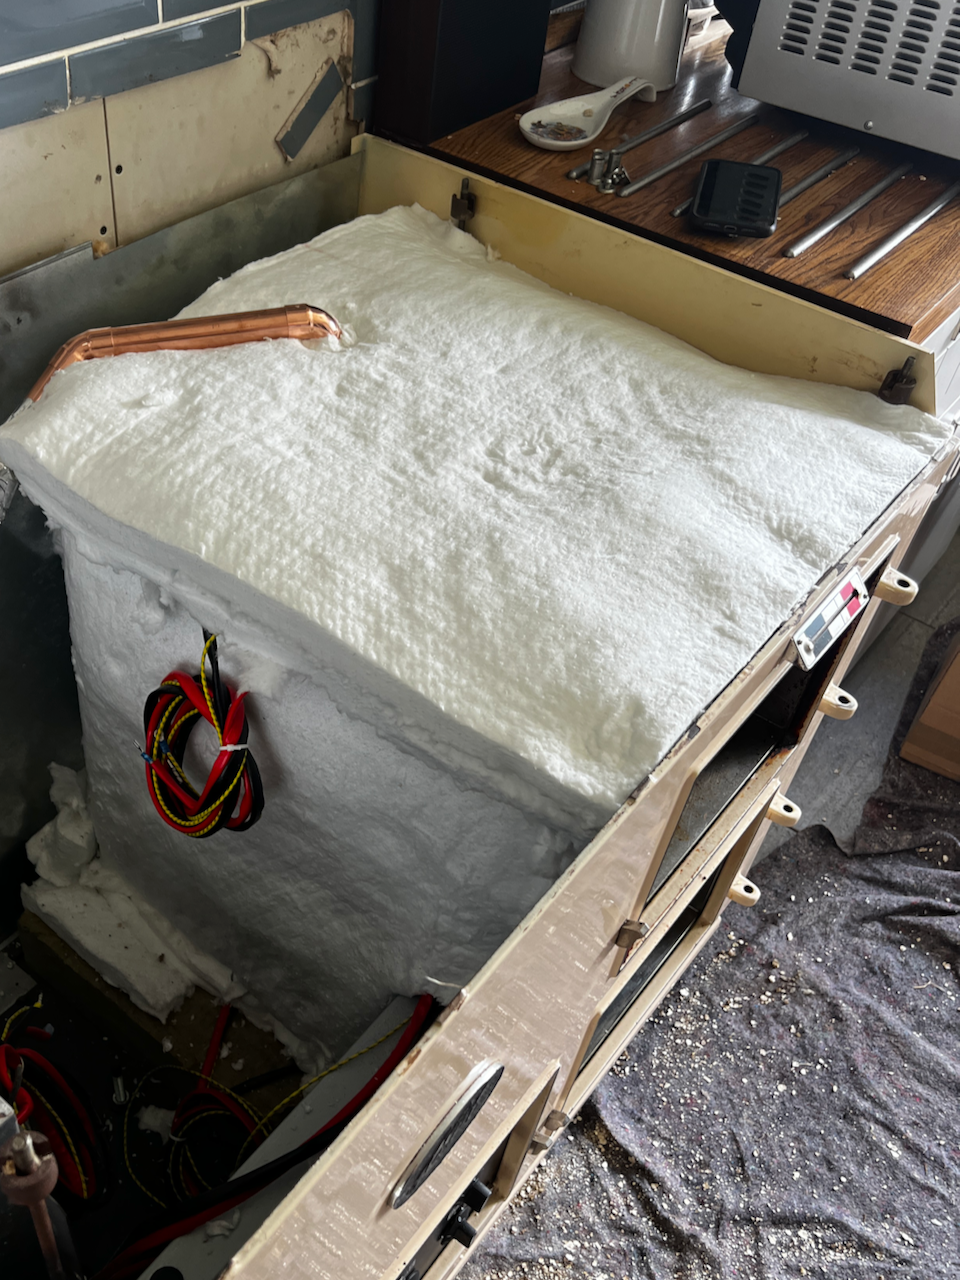
A 28mm copper pipe will be connected to the ovens and terminated inside the shroud, which brings the hot air from your ovens into the room.
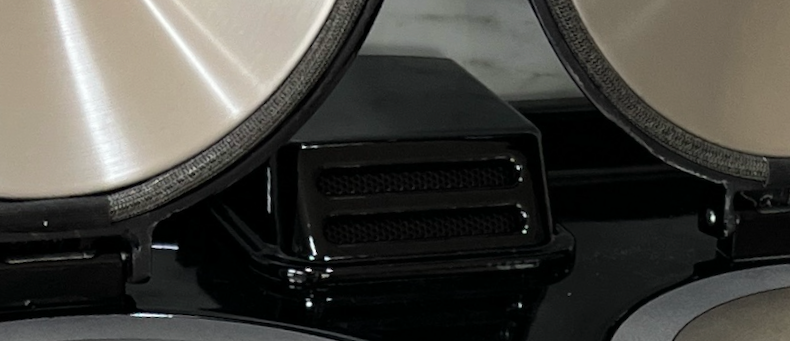
If you're converting your existing aga cooker, you have two options - keep your existing flue for extracting moisture and cooking smells, or removing the flue and venting into the room.
- If you vent into the room, you'll notice steam and moisture coming from the vented shroud.
- If you vent using your existing flue, in windy conditions, heat might be sucked out of the ovens.
- If you have a 13amp electric aga cooker with an external oven fan, you can choose to add the fan configuration when ordering your conversion.
ElectricKit Classic - Heat Up Times
The below are approximations.
Top Right Hand Oven
Roasting (220c) in 61 mins (from cold).
Baking (180c) in 48 mins (from cold).
The manufacturers have confirmed that no additional "temperature stabilisation time" is required with the top right hand oven.
The Bottom RH Oven will naturally conduct heat from the top oven when the top oven is in use. A good rule of thumb is that it will be around 35% cooler than the temperature in the top oven.
Hotplates
Simmering Temp in 13 mins (from cold).
Boiling Temp in 19 mins (from cold).
We always recommend using your RH Hotplate as your preferred hotplate, since it will already be warm due to the ambient heat if the ovens below are already on.
Reducing hotplate usage or upgrading to an induction option, is an easy way to lower your running costs.
Want faster heat up times? Consider upgrading your aga cooker to an ESSE Cooker.
Get Roasting Oven temperatures in just 15 minutes PLUS integrated grill and induction as standard!
Learn More About ElectricKit
We have more information on features, pros/cons etc, on our ElectricKit Summary page:

